Jetsとは
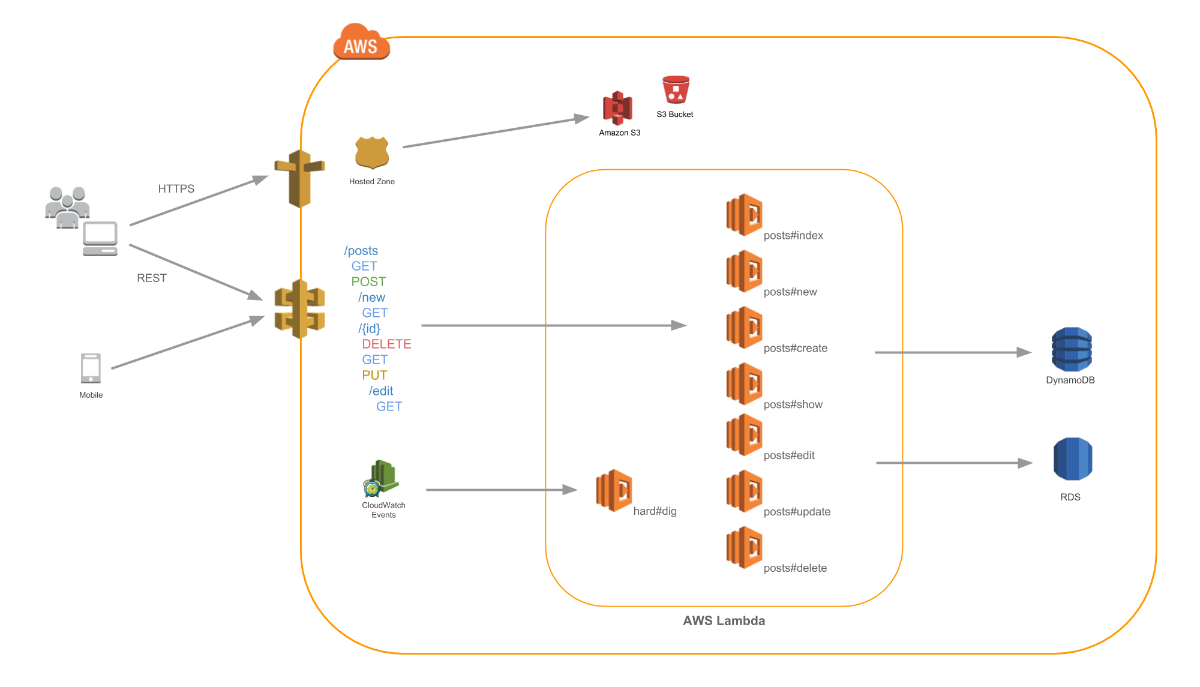
一言で言えば、AWS Lamdaを動かすために最適化されたRails風のフレームワークです。
下記のようなストラクチャーをjets deployで簡単に構築、削除できます。
画像は公式ドキュメントから引用しました。
試してみる
以下の環境で試してみました。
- ruby 2.5.0
- jets 2.3.16
- mysql 8.0.19
環境構築
gemをインストール
$ gem install jets
プロジェクト作成
$ jets new jets-demo
webサーバーを起動
$ jets server
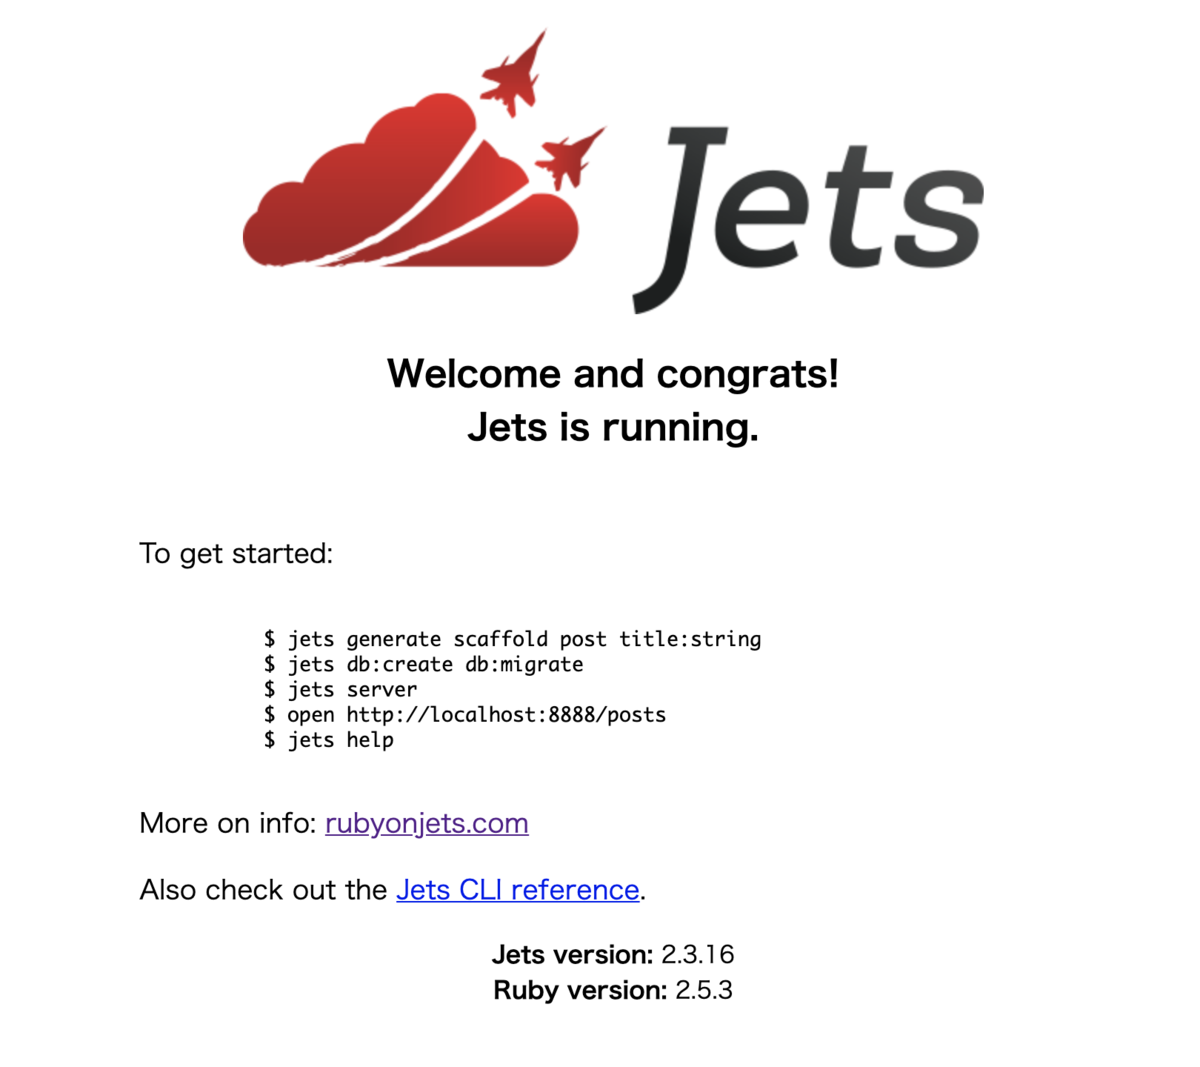
http://localhost:8888 にアクセスすると以下の画面になります。
scaffoldしてみる
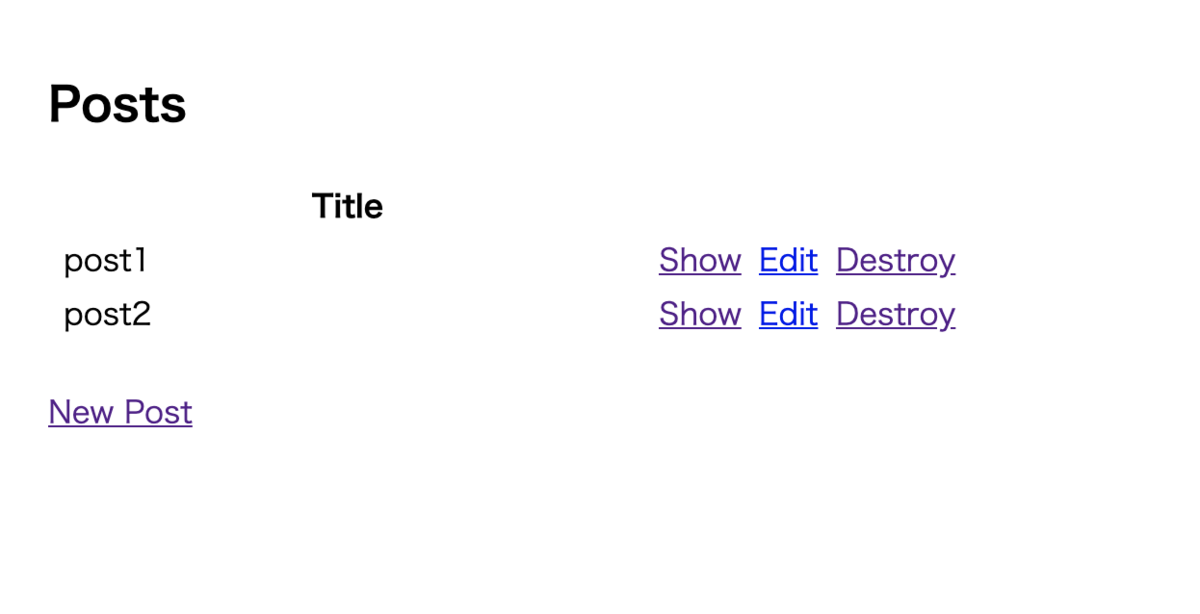
スタート画面にあるコマンドを実行していくとRailsでscaffoldしたような感じになります。
$  jets generate scaffold post title:string
$  jets db:create db:migrate
$  open http://localhost:8888/posts
AWSにデプロイしてみる
ポリシーとユーザーの作成
以下のドキュメントのポリシーをコピペして作成していきます。
{
    "Version": "2012-10-17",
    "Statement": [
        {
            "Effect": "Allow",
            "Action": [
                "apigateway:*",
                "cloudformation:*",
                "dynamodb:*",
                "events:*",
                "iam:*",
                "lambda:*",
                "logs:*",
                "route53:*",
                "s3:*"
             ],
            "Resource": [
                "*"
            ]
        }
    ]
}
ポリシーを作成したら、次にユーザーを作成していきます。
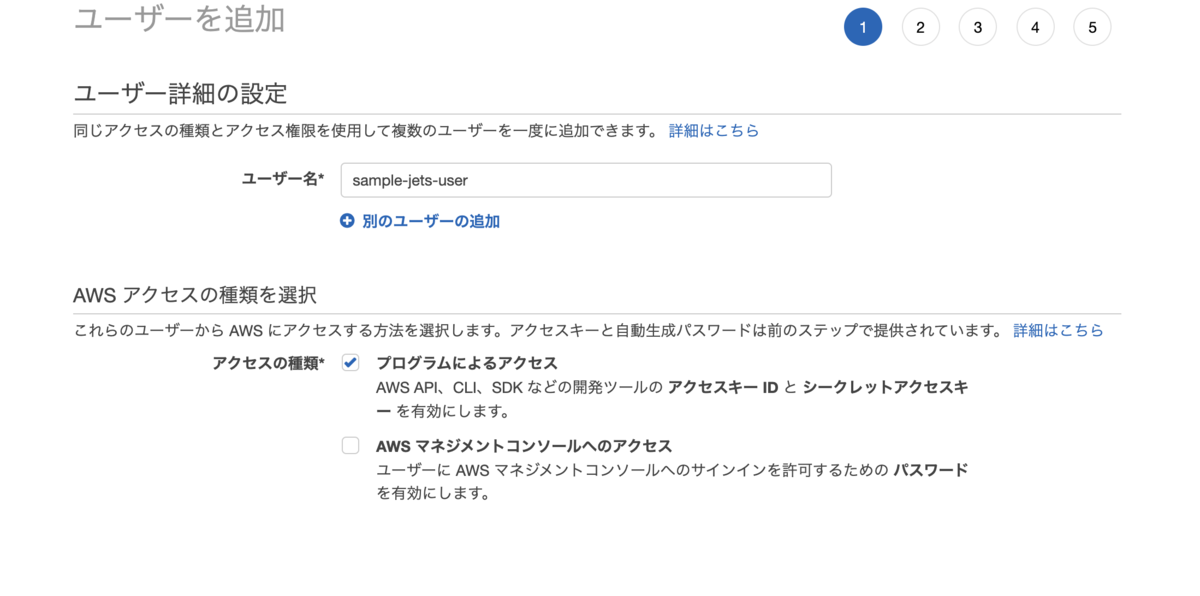
プログラムによるアクセスにチェックを入れていることに注意してください。 次に先ほど作成したポリシーを適応させればOKです。
AWS CLIの設定
上記の記事を参考にAWS CLIを設定します。
RDSの作成
RDSでMySQLのインスタンスを作成します。 DBの作成は以下の記事を参考にしました。
.env.development.remoteの作成
ENV_DEVELOPMENT_KEY=example1
DATABASE_URL=mysql2://(ユーザー名):(パスワード)@(データベースのエンドポイント)/jets-demo_production?pool=5
デプロイ
$ JETS_ENV_REMOTE=1  jets db:create db:migrate
$ jets deploy
デプロイに成功するとAPI Gateway Endpointが表示されるはずなので、エンドポイントにアクセスしてみると以下のようにスタート画面が表示されます。

エンドポイント/postsにアクセスするとローカルと同じようにscaffoldで作ったインデックス画面が表示されCRUD機能が使えます。
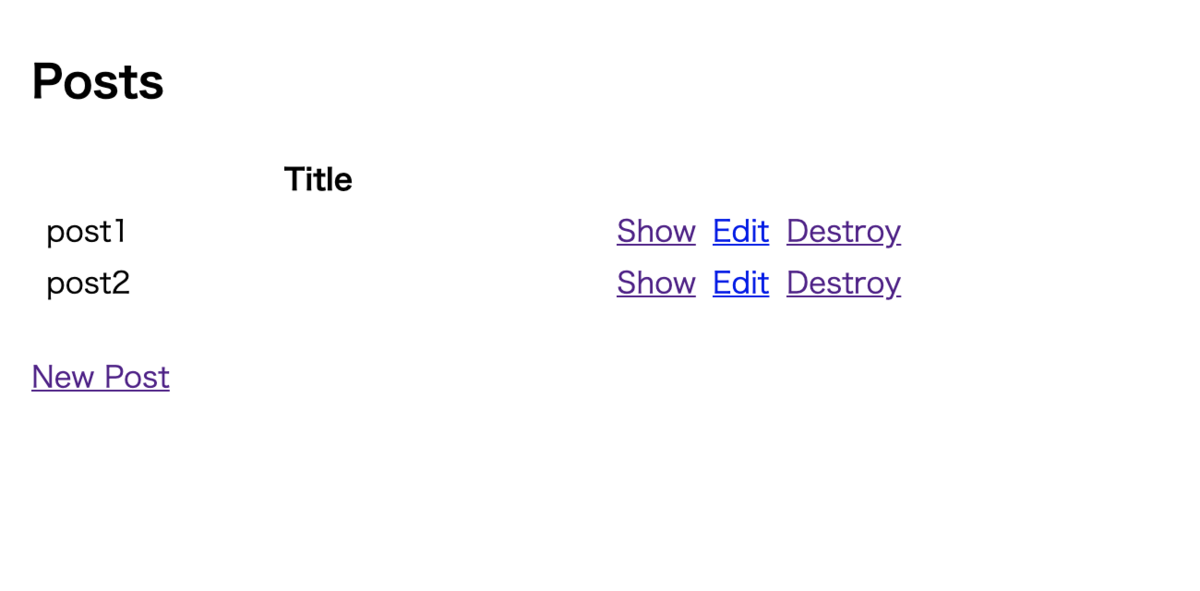
以上で完成です。
以下のコマンドを打つと作成したリソースを削除できます。
$ jets delete
詰まったところ
mysql2 gemがインストール出来ない
An error occurred while installing mysql2 (0.5.3), and Bundler cannot continue.
Make sure that `gem install mysql2 -v '0.5.3' --source 'https://rubygems.org/'` succeeds before bundling.

In Gemfile:
  mysql2
         run  bundle exec jets webpacker:install from "."
Could not find gem 'mysql2 (~> 0.5.2)' in any of the gem sources listed in your Gemfile.
ログを見てみると下記のように書いてあるので、brew install mysql
mysql client is missing. You may need to 'brew install mysql' or 'port install mysql', and try again.
再度bundle installしても以下のエラーが出ます 。
checking for rb_absint_size()... yes
checking for rb_absint_singlebit_p()... yes
checking for rb_wait_for_single_fd()... yes
-----
Using mysql_config at /usr/local/bin/mysql_config
-----
checking for mysql.h... yes
checking for errmsg.h... yes
checking for SSL_MODE_DISABLED in mysql.h... yes
checking for SSL_MODE_PREFERRED in mysql.h... yes
checking for SSL_MODE_REQUIRED in mysql.h... yes
checking for SSL_MODE_VERIFY_CA in mysql.h... yes
checking for SSL_MODE_VERIFY_IDENTITY in mysql.h... yes
checking for MYSQL.net.vio in mysql.h... yes
checking for MYSQL.net.pvio in mysql.h... no
checking for MYSQL_ENABLE_CLEARTEXT_PLUGIN in mysql.h... yes
checking for SERVER_QUERY_NO_GOOD_INDEX_USED in mysql.h... yes
checking for SERVER_QUERY_NO_INDEX_USED in mysql.h... yes
checking for SERVER_QUERY_WAS_SLOW in mysql.h... yes
checking for MYSQL_OPTION_MULTI_STATEMENTS_ON in mysql.h... yes
checking for MYSQL_OPTION_MULTI_STATEMENTS_OFF in mysql.h... yes
checking for my_bool in mysql.h... no
-----
Don't know how to set rpath on your system, if MySQL libraries are not in path mysql2 may not load
-----
-----
Setting libpath to /usr/local/Cellar/mysql/8.0.19_1/lib
-----
なぜコケたのか理解できていませんが、下記の記事の内容で解決しました。
ActionView::Template::Errorが発生

/config/webpacker.ymlがないと怒られたので、jets webpacker:installで作成して再起動したらエラーが消えました。
jets deployする時もmysql2のインストールに失敗する
以下の記事を参考に解決しました。